A guide to sorting clay roof tile fittings

Sorting clay roof tiles and roof tile fittings is an important step in the roofing process, as it helps to achieve uniformity in colour, shape and dimensions, ensuring a more weather-resistant and aesthetically pleasing roof.
In a previous article, we wrote about the need to take care when mixing and laying clay roof tiles due to the fact they are all unique in shape and size, compared to concrete roof tiles, which are uniform in dimension. In this article, we will look at how to sort and install the fittings for part-round clay ridge/hip tiles, arris hip tiles and valley tiles.
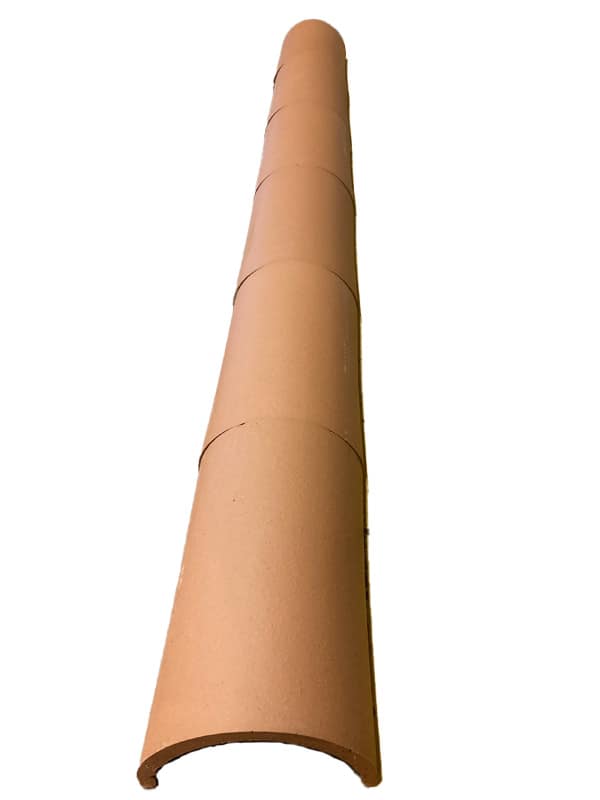
Sorting clay roof tile fittings: Part-round ridge/hip tiles
When installing ridge/hip tiles to a hip with concrete tiles, roofers may use various methods to keep the line of the ridge/hip tiles straight. Normally this involves focusing on keeping just one side straight with strike lines or boards. This can work because concrete ridge/hip tiles are very consistent in shape, but clay roof tiles and fittings can vary in shape due to the manufacturing process. This means that focusing on one side of the ridge/hip tiles only can result in misalignment of the ridge/hip tiles on the opposite side. (See figure 1).
Kevin Taylor, Training and Technical Support Manager at Marley, suggests that one solution is to use the centre of the ridge/hip tiles and sort them before bedding or fixing them into place. “To do this, lay the ridge/hip tiles onto a straight, level surface, such as a scaffold board, and turn and swap the ridge/hip tiles as necessary so that compatible ends match up,” he says.
Next, he says to check the centre line for alignment (by eye) and strike a chalk line down the centre of the ridge/hip tiles. “At this stage, it is also useful to number the joints so the ridge/hip tiles can be installed in order, using the centre line to keep the hip straight,” he adds. (See figure 2).
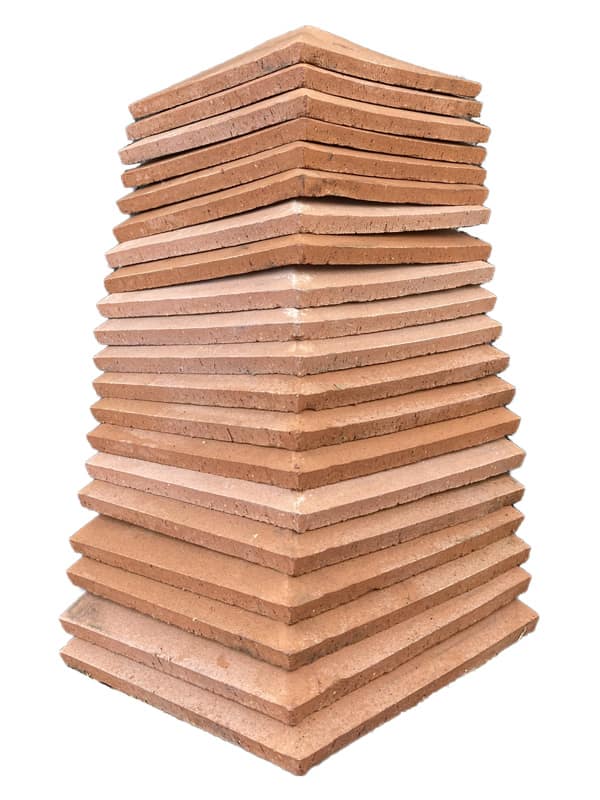
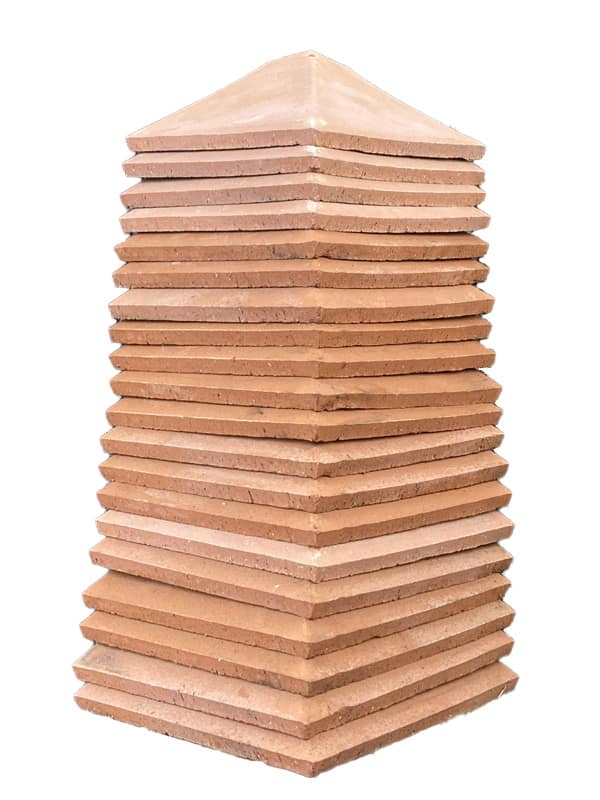
Sorting clay roof tile fittings: Arris hip tiles
Manufacturers normally produce clay arris hip tiles for a variety of roof pitches. In most cases, this means the clay roof tiles on either side will not need to be cut to size or angle. It is tempting therefore just to assume they can be installed without any additional actions. However, Kevin warns that, as with the clay ridge/hip tiles, each individual arris hip tile is different. “Sorting is necessary to ensure the best finish aesthetically. Initially, what we are looking for is a benchmark, and this would be a hip tile that is straight and even along the bottom edges.”
Each hip tile should then be inspected with all the straight ones put together, and those which flare to the left or right put together, this ensures that groups of a similar shape are all installed together. In some cases, badly flared or misshapen hip tiles may need to be discarded, or used on elevations which are less visible from ground level. (See figures 3 and 4).
Sorting clay roof tile fittings: Valley tiles
Clay valley tiles, like arris hip tiles, are normally manufactured for a variety of roof pitches which typically means there is no need to cut the sides of the tiles. Because of the high volume of water that is diverted into valleys, valley tiles come without nail holes and are the only perimeter tile or fitting which does not need to be mechanically fixed. Instead, they are simply held in place by clay roof tiles at the sides and above them.
As with arris hip tiles, it is tempting just to install the valley tiles without any further action, but it is important to sort them to ensure they lay evenly up the valley and so that the clay roof tiles around them lay flat with any kicking/gaps kept to a minimum. It is also advisable to start with a benchmark valley tile which looks straight and even with no noticeable twist on the sides. As the valley tiles are sorted, put all the straight ones together, and all those that flare one way or the other together so they can be installed in groups.
Considering colour variation with clay roof tile fittings
When installing arris hip or valley tiles, it is important to note that the colour or shade can vary, as with all clay roof tiles and fittings. The sorting of the fittings can often be sufficient to mix the slight variations, so no further action is usually necessary.
Packing clay roof tile fittings
Careful sorting of the fittings will do much to ensure they, and the tiles around them, lay evenly with minimal gaps. However, it may be necessary in some cases to use timber packing to lift fittings which are not sitting correctly, or to remove small sections of the adjacent tiles on the top corners to reduce kicking.
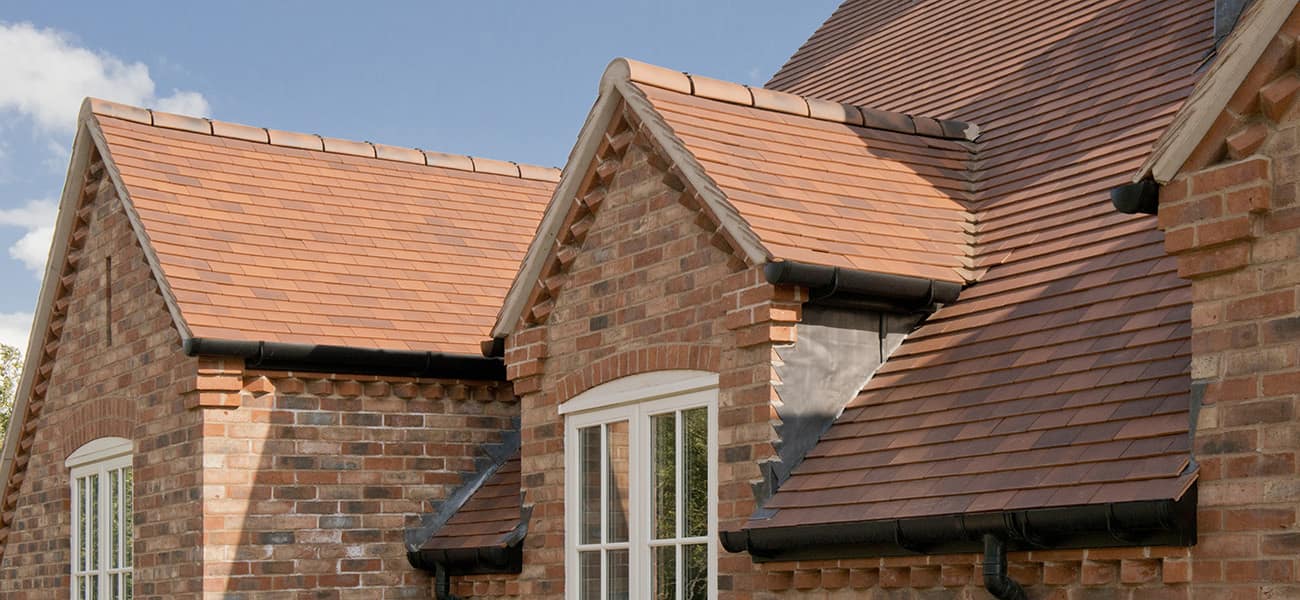
Clay roof tiles from Marley
Stuart summarises: "Sorting clay roof tiles and fittings is a step that cannot be skipped in the roofing process. From achieving uniformity in colour and shape, to ensuring weather resistance, improving installation efficiency and creating an attractive roof, the sorting process helps to ensure the finished roof’s quality, aesthetics and longevity.”
Here at Marley, we offer a wide range of concrete and clay roof tiles, as well as fittings such as ridge and hip tiles, arris tiles and valley tiles. Our complete roofing system includes everything you need to create a high-quality and attractive roof, ensuring that all elements are compatible and will work together to achieve the required standards.
To find out more about sorting clay roof tile fittings, or to discuss any questions or queries you may have, please don’t hesitate to contact us. You can also request clay roof tile samples or find a local stockist.