A homeowner's guide to cracked roof tile repair

A cracked roof tile may sound like a small concern but, if not repaired quickly, it can lead to major problems. Even minor damage to a roof tile can allow rainwater and wind to penetrate the roof structure, causing more damage, as well as leaks. So, how do you replace or repair a cracked roof tile, and what caused the problem to begin with?
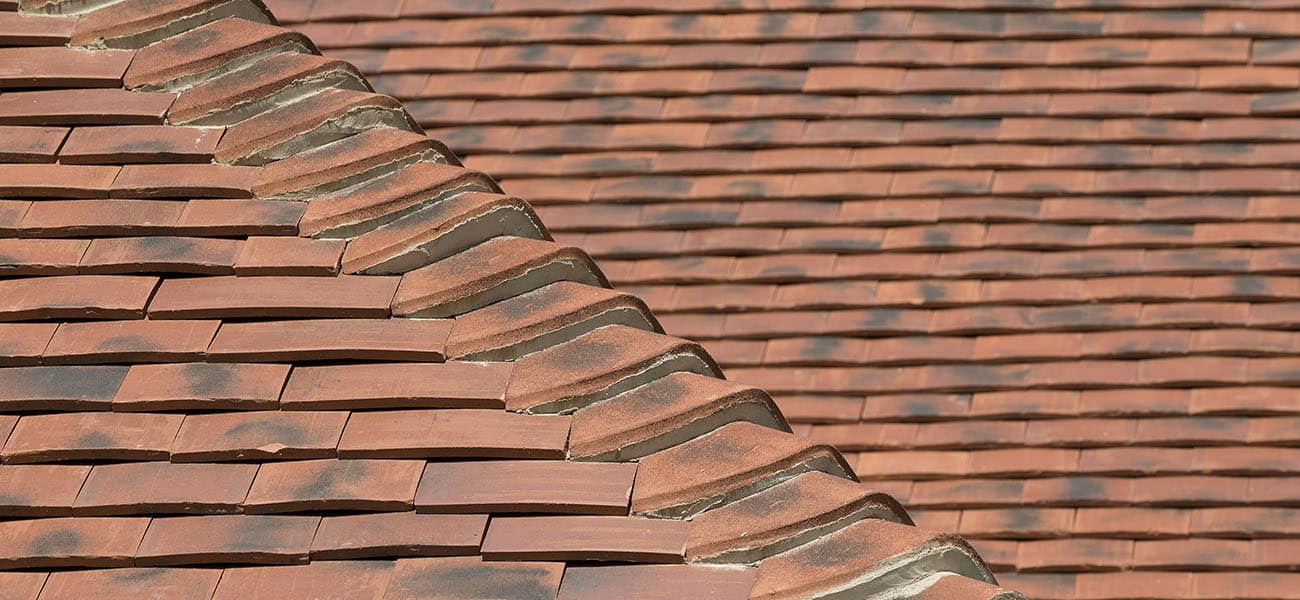
What causes a broken roof tile?
As long as they’re installed correctly and properly maintained, clay and concrete roof tiles typically have very long expected lifespans. However, problems can occur occasionally, and understanding the causes of a broken roof tile can help you prevent additional damage in the future.
Some of the most common reasons for requiring cracked roof tile repair include:
- Falling objects – During storms, tree branches or other debris may impact the roof, causing damage. We have also heard of unusually large hailstones cracking roof tiles.
- Foot traffic – While clay and concrete roof tiles are generally considered robust, most are not designed to be walked on once installed, and any applied weight can cause cracks or breaks.
- Improper installation – Roofs should be designed and installed to withstand everything from wind, rain and icy spells to extreme heat. However, if the roof is not constructed and installed correctly, it could leave the roof tiles vulnerable to damage during extreme weather conditions. Also, if the installers weren’t careful, they could damage the roof tiles during construction.
- Time – Despite the extremely long expected lifespan of roof tiles, they all eventually begin to show signs of wear and tear. If you discover cracked roof tiles in an older roof, it may be a sign that more substantial repairs, or even a full re-roof are required.
Whatever caused the damage, the solution is the same: the damaged tile needs to be removed and replaced with a sound one. So, how do you replace a cracked roof tile?
Can I repair a roof tile without removing it?
Kevin Taylor, Training and Technical Support Manager at Marley, warns that it can be tempting to look for quick fixes – such as adhesives or sealants – when a concrete or clay roof tile is cracked or damaged. “While these methods may seem like an easy option, temporary fixes like patches and sealant only delay necessary repairs. They don’t address the root cause of the problem, and often lead to worse problems in the future,” he says.
DIY roof tile repair
If you’re skilled at DIY, you might be thinking about repairing a cracked roof tile yourself. This will require removing the broken tile and replacing it with a new one. While this may sound simple, the truth is that the project can be complicated and potentially dangerous.
“For one thing, cracked roof tile repair requires working at height, which can be very risky if not undertaken by someone who is experienced and qualified,” Kevin says. “There’s also the chance that, in the process of repairing one broken roof tile, you may accidentally damage several more – by stepping on them, while prying out the old one or through the improper installation of the new one,” he warns.
To avoid damaging other roof tiles, adequate precautions should be taken, including the use of crawling boards, roof ladders or access boards. “You should also be aware of the recommendations for safe working at height and take steps to ensure your personal safety. With everything that can go wrong, I highly recommend that you call in a professional roofer to replace a cracked roof tile,” Kevin says.
Professional roof tile repair
In most cases, the best way to repair a cracked roof tile is to bring in a professional roofer. An experienced contractor will be able to fix the damage easily, without risking additional damage to adjacent roof tiles. They will have the necessary tools and safety equipment, as well as the ability to recognise other potential problems with the roof and advise you on how best to maintain your roof going forward.
To locate an installer in your area, try our Find an Installer tool.
Disclaimer - The information shared in this blog is correct at the time of publication. Guidance, standards, and best practices may change over time, so if you’d like further clarification or the latest updates, please get in touch with the Marley Technical Advisory Team, who will be happy to help.
Category: Roof Tiles Roofing